August 13, 2026 · Brian Blum
The How and Why of Flying by Sight Picture
As a novice student, when your instructor tells you to fly North at 3,500’, you’ve already been set up for failure. Let’s discuss why – and how to do it the right way: flying by sight picture.
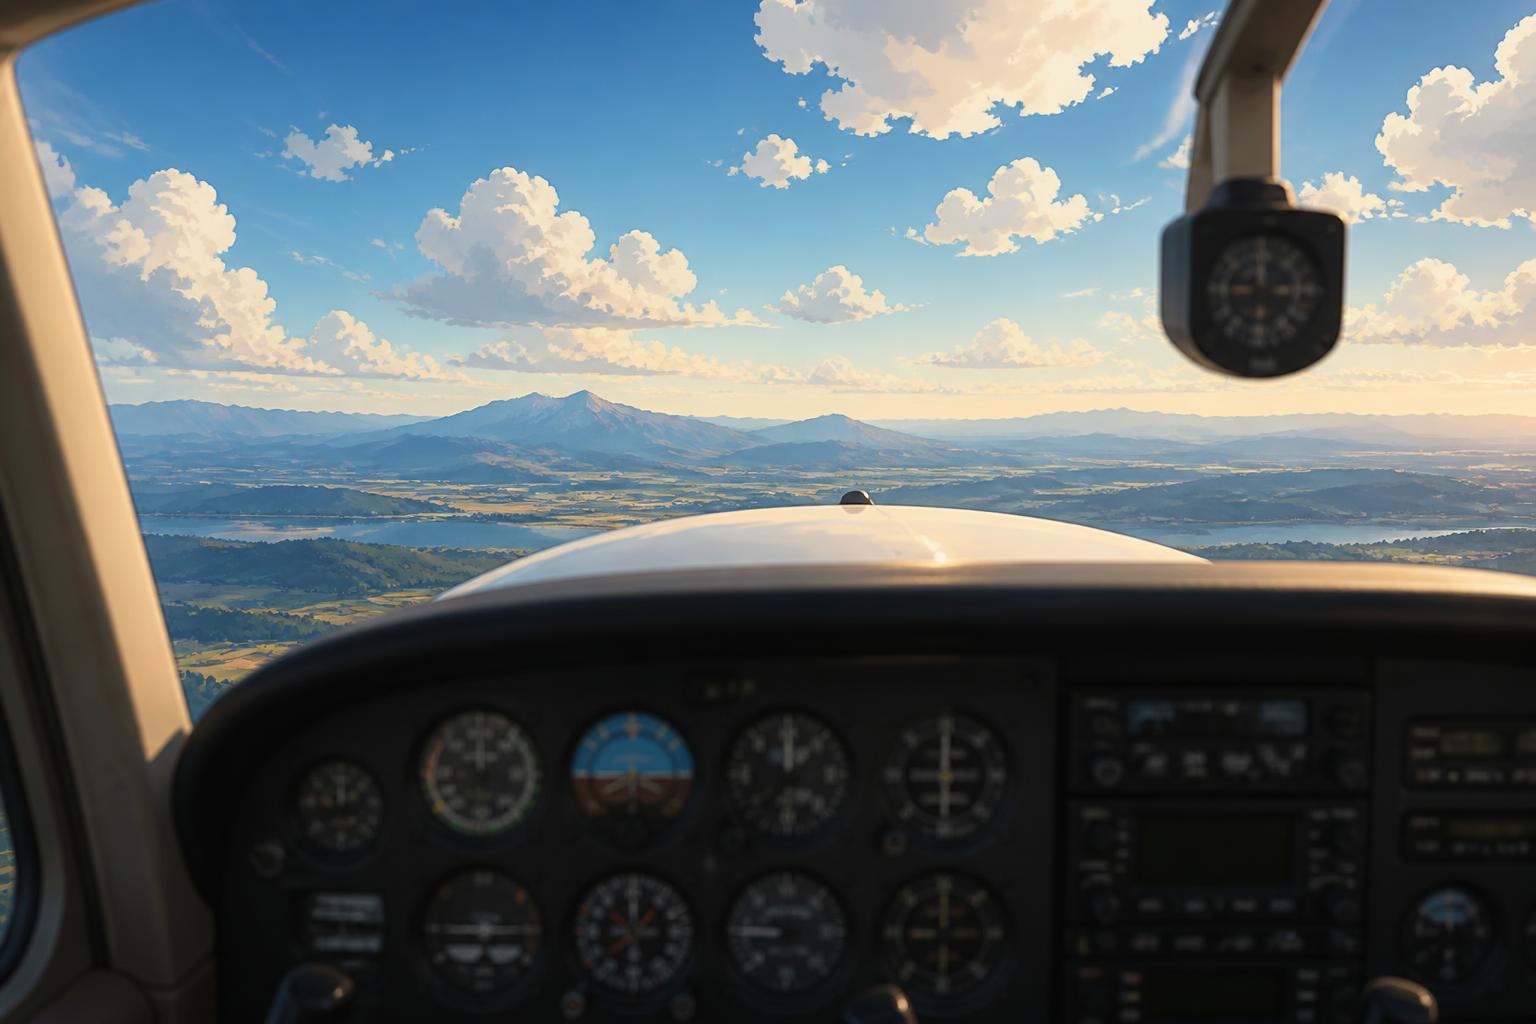
As an instructor, let me acknowledge that many of us do our novice students a terrible disservice. We may pay lip-service to “sight picture,” but then we say, “Level off at 3,000’ and fly a heading of 240.” It’s not your fault – it’s ours. We’ve just primed you to focus on the altimeter and the directional gyro (DG) and to iteratively react to every deviation by veering into a correction. “Chasing the needle,” as this is known, means that you’re constantly overcorrecting, inducing your own oscillations around the intended flight path. Understanding, appreciating, and flying a “sight picture” is the difference between a smooth, safe, comfortable ride and a roller-coaster of pilot-induced oscillations (PIO).
To understand the difference, try to imagine keeping your car in a lane by watching the lane lines a foot in front of the hood. You’d be reacting to every near-departure by veering towards the other lane line, iteratively, back and forth. It may be how your 16-year-old kid with a learner’s permit tries to stay in lane, but you know you need to look further ahead down the road to drive smoothly and safely. Flying the sight picture for heading means picking a visual reference on the horizon or far in the distance, and keeping the nose of the plane pointing in that direction. For altitude, it means noting where the horizon is relative to the dashboard, and keeping it at that height.
If you fly towards some distant lake, cloud, or a mountain peak on the horizon, and if you keep the horizon an inch above the dashboard, how does that relate to your instruction to “fly 240 at 3,000’?” Well, that’s where cross-checking comes in. Glance down at the instruments and see how that sight picture is working out. If you’re left or right of your assigned heading, go back to your sight picture, pick a new visual reference left or right of the one you’ve picked, and point the nose of your plane at it. If you’re climbing or descending on the altimeter, go back to your sight picture and move the nose of the plane up or down slightly on the horizon, retrim, give the plane a chance to stabilize, and then recheck the instruments. In this way, you’ll be making small changes, zeroing in on the assigned heading and attitude, rather than overcorrecting.
Flying the sight picture brings better accuracy and a smoother ride, because it allows you to notice deviations earlier and make smaller corrections sooner. When an asymmetrical updraft causes the plane to bank, it will take a moment before that bank effects a heading change. If you’re fixated on the DG, you won’t notice the turn until it’s happening, but flying visually with the horizon as a reference, you’ll notice the undesired bank as soon as it develops, and you can simply level the wings before your heading changes … or if you don’t catch the bank soon enough, you’ll notice that you’re no longer flying towards your visual reference, and you’ll simply turn the plane back towards it. If a thermal changes the plane’s pitch, it will take a moment before that attitude change effects an altitude change. If you’re fixated on the altimeter, you won’t notice the climb or descent until it’s happening, but flying visually with the horizon steady relative to the dashboard, you’ll notice the undesired pitch as soon as it develops, and you can correct it before your altitude changes – just bring the horizon back to where it was the moment before.
Once you develop the skill of flying visually based on a sight picture, it will help you in situations beyond the examples above:
- On takeoff, pick a visual reference in line with the runway extended center line, and crab into any crosswind such that you continue moving directly towards your visual
reference.
- When flying downwind in the traffic pattern, pick a visual reference in the distance, and cross-check it against your distance from the runway. If you’re encroaching on or diverting from the runway, pick a new visual reference. Once you’re past the end of the
runway, continue flying towards that visual reference to maintain your flight path parallel to the runway until you turn base.
- On final approach, trim for airspeed and note whether your aiming point is moving up or down on your windshield; make power adjustments to adjust your descent angle to hold it stationary.
- In a sideslip landing, watch both your orientation and your relative position to the runway centerline. If you’re turned to face left or right of the far end of the runway, rudder yourself back to it. If you’ve gotten blown off to one side of the runway, bank
yourself back to the centerline while ruddering to keep your nose pointing at the far end of the runway.
It’s all sight picture, and an added bonus is that it keeps your eyes mostly out the window which may help you see and avoid other traffic.
In fact, this concept works the same in instrument flying. In instrument meteorological conditions (IMC), the relatively small horizon on the attitude indicator (AI) serves as a proxy for the much larger actual horizon, the DG replaces our distant visual reference, and the course deviation indicator (CDI) replaces the centerline we’re trying to follow, but we still use them the same way. If we’re banked or off pitch, we correct it on the AI just as we would on the actual horizon. If we’re off heading on the DG, we turn back. If we’re off altitude, we make a small change on the AI to climb or descend as appropriate and then remove that correction once we’re back on altitude. If the CDI needle is off center, we make a small change on the DG to crab to reintercept it and then return to our target heading on the DG. If our heading or pitch aren’t maintaining our course or altitude, we’ll change our reference heading on the DG or our reference pitch on the AI just as we would with visual references on the actual horizon.
Learn and practice flying by sight picture, and it will make you a better, safer, more accurate pilot, and avoiding the oscillations of overcorrections will produce a more comfortable ride for your passengers. Unintuitively, developing the skill of flying by sight picture will even make you a better instrument pilot.